
Brewing Stand Recipe in Minecraft: How to Craft and Use It for Powerful Potions
Potions turn a decent Minecraft run into a borderline broken one. Fire Resistance before a Nether dive, Swiftness for a speedrun, Night Vision in a mineshaft, none of it happens without a brewing stand. The good news? The brewing stand recipe is one of the simplest mid-game crafts in the game, but it does require a trip to the Nether to grab the key ingredient. This guide walks through every material, the exact crafting layout, and the first potions worth brewing once it’s set up.
Key Takeaways
- The brewing stand recipe requires only 1 Blaze Rod and 3 Cobblestone, with the Blaze Rod being the bottleneck that requires a Nether trip to Blaze spawners in Fortresses.
- A brewing stand enables potion crafting—the foundation for essential survival potions like Fire Resistance, Night Vision, and Healing that significantly enhance gameplay.
- The brewing stand crafting layout places the Blaze Rod in the center slot with Cobblestone filling the entire bottom row on any standard crafting table.
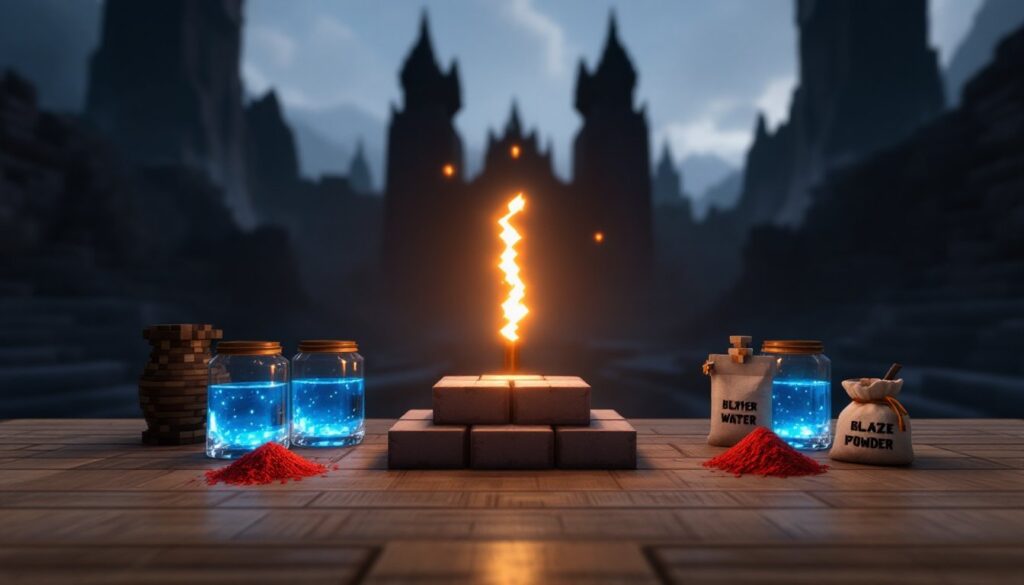
- Once set up, a brewing stand needs Blaze Powder fuel, water-filled glass bottles, and ingredient modifiers like Nether Wart to begin the brewing process.
- Fire Resistance, Healing, Swiftness, Night Vision, and Strength potions should be your first brewing priorities for maximum survival and combat advantages.
What a Brewing Stand Does in Minecraft
A brewing stand is the only block that can turn ingredients into potions. It holds up to three glass bottles at once, plus a fuel slot (Blaze Powder) and an ingredient slot at the top. Each brewing cycle takes roughly 20 seconds, and a single Blaze Powder fuels 20 brewing operations.
It’s also a functional light source (light level 1, technically) and a job-site block for the Cleric villager. So beyond potions, players who drop one in a village can lock in emerald trades for redstone, lapis, glowstone, and ender pearls. Available on every platform, Java, Bedrock, Switch, PS5, Xbox, and Pocket Edition, the mechanics are identical across versions as of patch 1.21.
Materials Needed for the Brewing Stand Recipe
The shopping list is short but one item gates the whole thing behind a Nether trip:
- 1 Blaze Rod, dropped only by Blazes in Nether Fortresses
- 3 Cobblestone (or Blackstone, which works as a substitute in 1.16+)
That’s it. No iron, no redstone, no diamonds. The bottleneck is purely the Blaze Rod, which means players need a Nether portal, decent armor, and ideally a bow before attempting the recipe.
How to Get a Blaze Rod
Blazes spawn inside Nether Fortresses, usually around blaze spawners on bridges and upper walkways. They drop 0–1 Blaze Rods per kill, with the Looting enchantment bumping the max to 4. A solid approach: bring a bow with Power, snowballs (they deal 3 damage per hit to Blazes specifically), and a Fire Resistance potion if one is already stocked. Players who haven’t found a fortress yet can travel along the Nether’s Z or X axis, fortresses generate in long strips and are easier to find by walking in a straight line than wandering. Practical Nether prep tips from veteran how-to guides line up here: bring gold armor pieces to keep Piglins neutral.
Where to Find Cobblestone Quickly
Cobblestone is the easy part. Any stone block mined with a wooden pickaxe or better drops it. For players who somehow run out mid-base-build, a basic cobblestone generator using water and lava produces infinite stone in seconds. Blackstone, found in Basalt Deltas and Bastion Remnants, works as a 1:1 substitute and is often easier to grab while already in the Nether hunting Blazes.
Step-by-Step Crafting Instructions
Once both materials are in the inventory, the craft itself takes seconds at a standard 3×3 crafting table:
- Open the crafting table interface.
- Place the Blaze Rod in the center slot (middle row, middle column).
- Place 3 Cobblestone across the entire bottom row.
- Drag the brewing stand from the result slot into the hotbar.
The pattern looks like this:
[ ] [ ] [ ]

[ ] [B] [ ]

[C] [C] [C]
Where B is the Blaze Rod and C is Cobblestone. The recipe is shapeless on the top two rows but the bottom row must be filled. Anyone who’s used the recipe book in Minecraft will see the brewing stand auto-populate under the “Miscellaneous” tab once a Blaze Rod is picked up for the first time, handy for players who’d rather click once than memorize layouts. The same recipe book also covers tricky crafts like the minecraft rail recipe (6 iron ingots and a stick in an H-pattern) and the minecraft saddle recipe, which is technically a trick question because saddles can’t be crafted at all, they only spawn as loot in chests, fishing, or trades.
Setting Up and Using Your Brewing Stand
Place the brewing stand on any solid block, most players put it near a water source, a chest of ingredients, and a furnace for glass production. To brew, the stand needs three things:
- Fuel: Blaze Powder (craft 1 Blaze Rod into 2 Blaze Powder). Goes in the top-left slot.
- Bottles: Up to 3 glass bottles filled with water, placed in the bottom slots.
- Ingredient: The modifier item (Nether Wart, Glowstone Dust, etc.) goes in the top-center slot.
Water bottles are made by right-clicking a water source or a filled cauldron with empty glass bottles. Every potion starts from a water bottle, then becomes an Awkward Potion with Nether Wart, then transforms based on the next ingredient. A complete breakdown of every modifier and brewing path is laid out in this full potion brewing chart, which is worth bookmarking for anyone going deep into alchemy.
Essential Potion Recipes to Try First
Not every potion is worth the materials. These five carry the most weight in early and mid-game survival:
- Potion of Fire Resistance, Awkward Potion + Magma Cream. Mandatory for Nether exploration and fighting Blazes without dying.
- Potion of Healing, Awkward Potion + Glistering Melon. Instant 4 HP restore: great panic button.
- Potion of Swiftness, Awkward Potion + Sugar. +20% movement speed, extend with Redstone for 8 minutes.
- Potion of Night Vision, Awkward Potion + Golden Carrot. Caves become trivial.
- Potion of Strength, Awkward Potion + Blaze Powder. +3 attack damage, huge for boss fights.
Add Redstone Dust to any of these to extend duration, or Glowstone Dust to boost potency (Level II). Throw in Gunpowder at the end to convert any potion into a splash version, useful for healing teammates or debuffing mobs. Mobile players running Bedrock on phones can follow the same recipes: the mobile gaming community at Pocket Tactics has solid touch-control tips for managing the brewing UI on smaller screens.
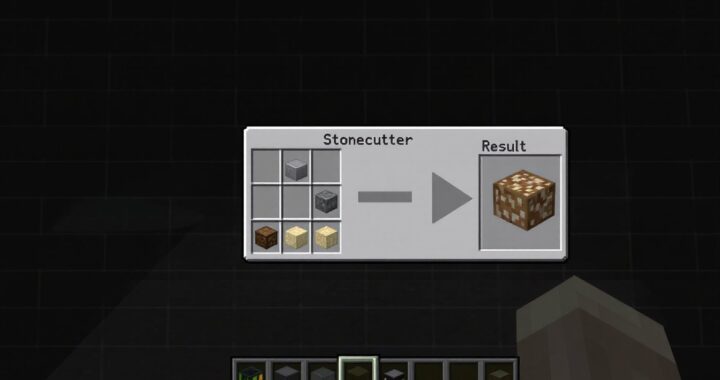 Stonecutter Recipe: Complete Crafting Guide for Minecraft 2026
  How to Make Cake in Minecraft: A Complete Crafting Guide for 2026
 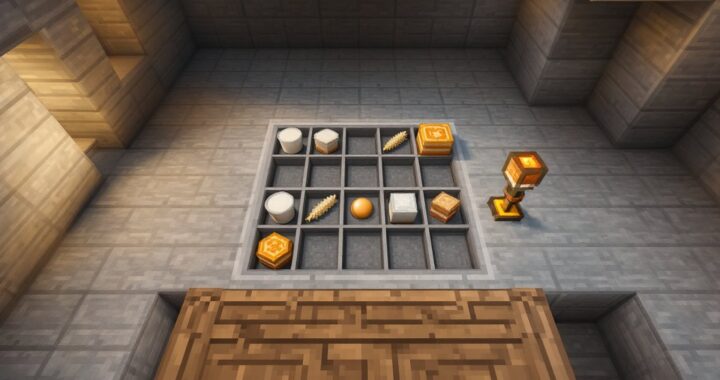 How to Craft a Cake in Minecraft: The Complete Recipe Guide for 2026
 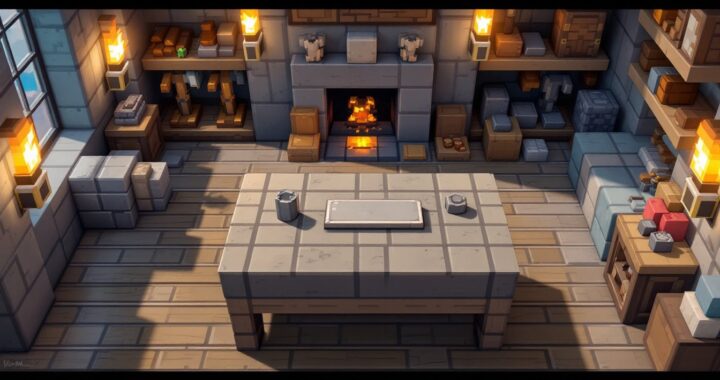 How to Craft an Armor Stand in Minecraft: A Complete Recipe & Usage Guide
  How To Make a Cake In Minecraft: Complete Crafting Guide for 2026
  Minecraft Recipe Book: The Ultimate Guide to Unlocking and Mastering Crafting in 2026