
How to Craft an Armor Stand in Minecraft: A Complete Recipe & Usage Guide
Armor stands are one of Minecraft’s most versatile entities, whether you’re building a display room for your collection, setting up a shop, or creating an elaborate decoration. Crafting one is straightforward, but understanding how to use it effectively, and how it differs between Java and Bedrock editions, can unlock creative possibilities. This guide covers everything you need to know about the armor stand recipe, materials, usage, and customization options so you can make the most of this handy block.
Key Takeaways
- An armor stand recipe requires just 6 sticks and 1 smooth stone slab, crafted with sticks filling the top and middle rows and the slab in the center of the bottom row.
- Smooth stone slabs must be created through double-smelting—mine cobblestone, smelt it into stone, then smelt again to get smooth stone before crafting slabs.
- Java Edition armor stands support advanced customization through commands like /summon with NBT tags (ShowArms, NoGravity, Invisible), while Bedrock Edition offers 13 built-in poses activated by sneaking and interacting.
- Armor stands can display helmets, chestplates, leggings, boots, mob heads, carved pumpkins, and elytra, with Bedrock Edition additionally supporting handheld items for greater creative flexibility.
- Dispensers can automatically equip armor onto stands using redstone activation, enabling automated displays and making armor stands invaluable for thematic decorations and storage solutions.
What Is an Armor Stand in Minecraft?
An armor stand is an entity that displays and stores armor and certain items. You can equip it with helmets, chestplates, leggings, boots, mob heads, carved pumpkins, and elytra. In Bedrock Edition, armor stands can hold many handheld items as well, making them far more flexible for builders and decorators.
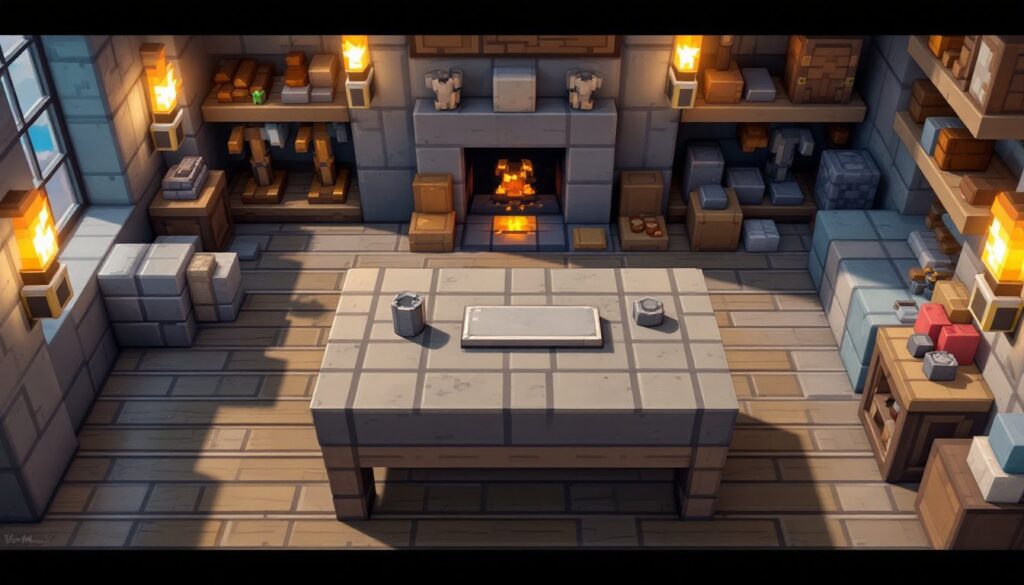
They’re essential for creating decorative scenes, managing inventory storage in multiplayer worlds, or setting up thematic displays. Unlike a chest or item frame, an armor stand can be posed and customized in numerous ways, giving builders the freedom to create unique scenarios. A single armor stand might guard your base entrance, while a dozen could populate a castle throne room or museum exhibit.
Armor Stand Recipe & Crafting Instructions
Required Materials and Alternatives
To craft one armor stand, you need:
- 6 sticks
- 1 smooth stone slab
Gathering Sticks: The easiest path is to collect wood from trees, then craft it into wooden planks. Each plank gives you two sticks when placed diagonally in a crafting grid. Any wood type works, oak, birch, spruce, jungle, acacia, dark oak, mangrove, or pale oak. Alternatively, if you’re in a survival world without trees nearby, you can strip logs using an axe to harvest wood directly.
Making Smooth Stone Slabs: This requires more steps but is straightforward. Mine cobblestone using any pickaxe, then smelt it in a furnace to create stone. Smelt the stone again in the furnace to get smooth stone (this is the critical step, regular stone won’t work). Finally, place three smooth stone blocks in a row in the crafting grid to create six smooth stone slabs. You only need one slab per armor stand, so you’ll have leftovers for future projects.
The Crafting Process:
- Open a crafting table (3×3 grid).
- Place sticks in the top and middle rows entirely:
- Top row: Stick – Stick – Stick
- Middle row: Stick – Stick – Stick
- Place the smooth stone slab in the center of the bottom row:
- Bottom row: (empty) – Smooth stone slab – (empty)
- Take the armor stand from the result slot.
No alternative official recipes exist, but you can use commands to spawn armor stands instantly. For example, /give @p armor_stand places one directly in a player’s inventory. This is handy in Creative mode or when running commands on a server.
How to Use Your Armor Stand
Equipping Armor and Items
Once you’ve crafted an armor stand, place it by right-clicking (or using your interact button) on a block with the stand in hand. To remove it, attack it twice to break it: it drops itself and all attached items.
Equipping gear varies by edition:
- Java Edition: Right-click the armor stand while holding armor or an allowed item. The stand automatically equips it to the appropriate slot.
- Bedrock Edition: Use the interact button or tap the “Equip” option on mobile, which opens a UI for placing items.
- Dispensers: Dispensers can automatically equip armor onto stands when activated with redstone. This is useful for automated displays or farms.
Arguably one of the most creative uses is building a minecraft recipe book display using armor stands as centerpieces. You can showcase different item combinations or complete sets, making tutorials and storage areas more visually engaging. Speaking of recipes, platforms like Twinfinite offer detailed walkthroughs for all crafting mechanics if you need a deeper jump into other minecraft recipe book features.
Customization and Posing Options
Java Edition:
Java offers the most advanced customization through commands. Use /summon armor_stand ~ ~ ~ {ShowArms:1b,NoGravity:1b} to spawn a stand with visible arms and gravity disabled. Additional NBT tags allow you to:
ShowArms:1b– Display arms instead of the default small limbsNoGravity:1b– Prevent the stand from fallingInvisible:1b– Hide the stand (items still display)- Custom pose data for positioning limbs
You can also modify existing stands using /data commands to adjust poses, visibility, and other properties after placement.
Bedrock Edition:
Bedrock simplifies posing. Sneak (or crouch) and interact with the stand to cycle through 13 built-in poses. Each pose repositions the arms and legs, from relaxed stances to action poses. Poses update instantly, making it easy to experiment until you find the look you want. Redstone can also trigger pose changes automatically, enabling dynamic scenes.
External Tools:
For highly complex setups, web-based “Armor Stand Maker” generators let you design poses visually, then copy the command code directly into your world. These tools are invaluable for detailed dioramas or thematic displays. Resources like GamesRadar+ cover advanced building techniques and command tutorials that can complement your customization efforts.
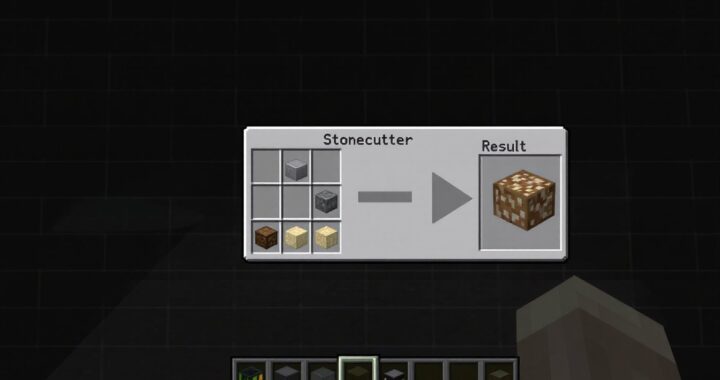
Many builders also use armor stands alongside other decorative blocks, like the stonecutter recipe for intricate stone details, or creating minecraft recipe book displays to show off crafting stations. The combination creates immersive, functional spaces that are both visually striking and informative.
Conclusion
Armor stands are simple to craft and remarkably versatile once you understand the basics. With just six sticks and a smooth stone slab, you gain access to one of Minecraft’s best display and storage options. Whether you’re posing them in Creative mode, organizing gear in survival, or building thematic displays, armor stands reward creativity. Experiment with poses, commands, and combinations, your builds will thank you for the detail.
 Stonecutter Recipe: Complete Crafting Guide for Minecraft 2026
  How to Make Cake in Minecraft: A Complete Crafting Guide for 2026
 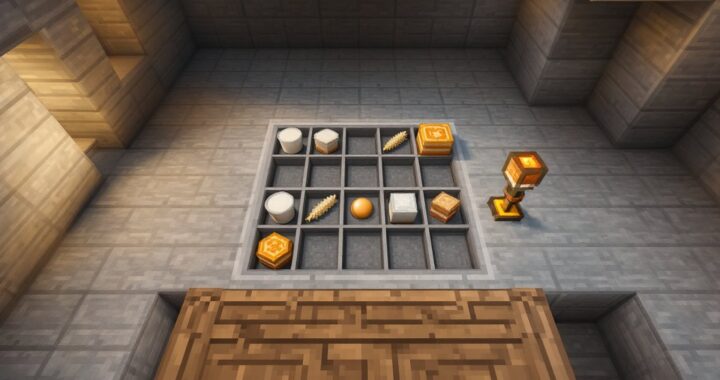 How to Craft a Cake in Minecraft: The Complete Recipe Guide for 2026
 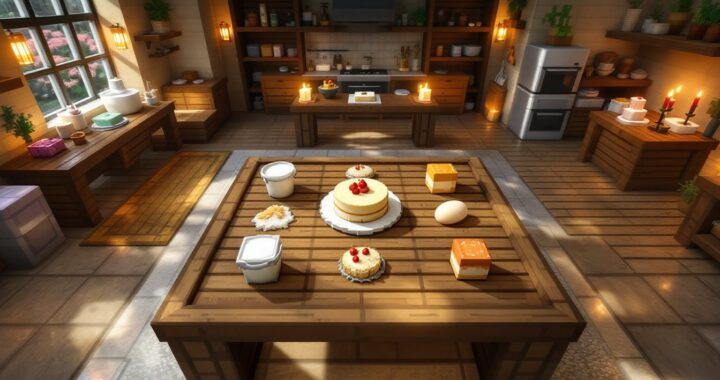 How To Make a Cake In Minecraft: Complete Crafting Guide for 2026
  Minecraft Recipe Book: The Ultimate Guide to Unlocking and Mastering Crafting in 2026
  Brewing Stand Recipe in Minecraft: How to Craft and Use It for Powerful Potions