
How to Craft an Armor Stand in Minecraft: Complete Recipe & Setup Guide
Armor stands are one of Minecraft’s most versatile crafting creations, serving purposes far beyond simple decoration. Whether you’re looking to display your best armor set, store mob heads, or build something more complex with commands, the armor stand recipe is straightforward and worth mastering. This guide walks you through the exact crafting steps, practical uses, and advanced customization options that’ll help you get the most out of these handy entities on both Java and Bedrock editions.
Key Takeaways
- The armor stand recipe requires just 6 sticks and 1 smooth stone slab, with smooth stone obtained through two-step smelting of cobblestone in a furnace.
- Armor stands serve as versatile display mannequins for showcasing armor sets, mob heads, elytra, and decorative items without cluttering your inventory or storage.
- Java Edition armor stands require commands to add arms and customize poses, while Bedrock Edition offers 13 intuitive preset poses accessible by sneaking and interacting with the stand.
- Advanced applications include invisible armor stands for adventure maps, redstone-powered automation using dispensers and pistons, and dynamic displays that move via water currents and slime blocks.
- Armor stands enhance organization across both editions by helping display finished crafted products, creating themed decorations like statues and weapon racks, and adding visual checkpoints throughout your world.
What Is an Armor Stand and Why You Need One
An armor stand is an in-game entity that functions as a wearable display case. Think of it as a mannequin you can place anywhere in your world to showcase gear, hold decorative items, or serve structural purposes in more complex builds.
Here’s what armor stands can actually do:
- Store and display armor sets visually, keeping your most prized equipment visible without cluttering inventory or chests
- Hold mob heads, carved pumpkins, elytra, and certain handheld items for thematic builds or trophies
- Act as decorative elements for statues, weapon racks, and scene-building
- Enable redstone and command utility in adventure maps, survival servers, and custom map projects
If you’ve ever wanted to show off a full Netherite set without eating up a full armor slot, or create a guardian statue near your base entrance, an armor stand makes it possible. They’re especially useful for organizing your storage rooms or creating visual checkpoints throughout your world.
Armor Stand Recipe and Crafting Instructions
The armor stand recipe is identical across Java and Bedrock editions, requiring just two components:
Materials needed:
- 6 sticks
- 1 smooth stone slab
Step-by-step crafting process:
-
Obtain smooth stone. Mine cobblestone, smelt it in a furnace to create stone, then smelt the stone again to get smooth stone. This two-step smelting is crucial, regular stone won’t work.
-
Craft smooth stone slabs. Place 3 smooth stone blocks in a horizontal row on your crafting table. You’ll get 6 slabs as output, you only need 1 for the armor stand, so you’ll have extras.
-
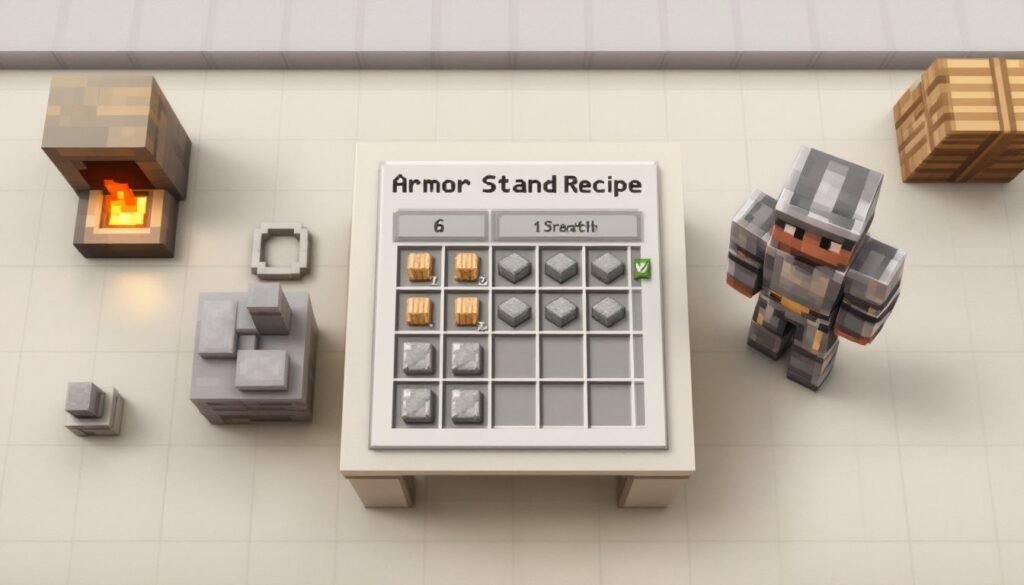
Assemble the armor stand. In a 3×3 crafting grid, arrange your materials like this:
- Top row: stick – stick – stick
- Middle row: empty – stick – empty
- Bottom row: empty – smooth stone slab – empty
Hit craft, and you’re done. One armor stand emerges from the output slot. The recipe is efficient and the smooth stone requirement makes sense thematically, it gives the stand a sturdy base. Resources like Twinfinite have detailed visual guides if you need a visual reference while crafting.
How to Use Your Armor Stand
Using an armor stand once you’ve crafted it is straightforward. Place it anywhere like you would a block, just hold it and right-click (or use your interact button on console/mobile). The stand appears in whatever direction you’re facing.
Once placed, interact with it while holding armor, items, or mob heads, and it’ll equip them automatically. Right-click the appropriate slot on the stand’s body, head for helmets and pumpkins, chest for chestplates, and so on. If you want to retrieve items, right-click the stand again and the item pops back to your inventory.
Breaking an armor stand is simple: attack it once and it drops itself plus any equipped gear. This means you’re never losing loot if you need to disassemble a display or move it elsewhere.
Equipping Armor and Items
Armor stands can hold the full range of protective gear: helmets, chestplates, leggings, and boots all display correctly. They also accept mob heads (creeper, skeleton, zombie, wither), carved pumpkins, and elytra. In Bedrock Edition, many handheld items can be held naturally through interaction. Java Edition is more restricted without commands, but you can still equip standard armor.
For automatic equipping on a larger scale, use dispensers. A dispenser loaded with armor pointing at an armor stand will automatically equip items when powered by redstone. This is especially useful for adventure maps or survival servers where you’re rotating displays frequently. Game Rant covers automation tricks like this in their redstone guides if you want more advanced setups.
Posing and Customizing Your Armor Stand
This is where armor stands shift from basic storage to creative tools.
Java Edition customization requires command knowledge. By default, armor stands have no arms and appear in a static standing pose. To add arms or change poses, use these commands:
/summon minecraft:armor_stand ~ ~ ~ {ShowArms:1}
This spawns an armor stand with visible arms at your location. Once placed, you can modify further with:
/data merge entity @e[type=armor_stand,sort=nearest,limit=1] {ShowArms:1}
Advanced builders use NBT tags to adjust head rotation, arm angles, leg position, and gravity behavior. Tools like Haselkern’s Armor Stand generator simplify this by outputting commands without manual NBT editing, a huge time-saver for complex poses.
Bedrock Edition is more intuitive. Simply sneak (shift) and interact with a placed armor stand to cycle through 13 preset poses. On mobile, a “Pose” button appears when interacting. Redstone signals can also trigger pose changes, making automation possible. Unlike Java, Bedrock armor stands naturally hold many items without commands, making them more accessible for casual builders. GamesRadar+ offers both Java and Bedrock customization guides if you’re looking for visual walkthroughs of these features.
Advanced Tips and Creative Uses
Once you’re comfortable with basics, armor stands unlock serious creative and technical possibilities.
For adventure maps and servers, invisible armor stands serve as invisible markers. Command blocks can reference them for map logic, scoreboards, and complex triggers without the visual clutter. Use /summon minecraft:armor_stand ~ ~ ~ {Invisible:1,NoBasePlate:1} to spawn marker stands that don’t interfere with gameplay.
Decorative applications are endless: statue builds, weapon racks displaying different swords, armor galleries in storage rooms, or themed NPCs standing guard at your base entrance. Combining multiple stands in varied poses creates scenes and storytelling opportunities.
Redstone integration is powerful. Pistons, slime blocks, and water currents can move armor stands around because they’re entities, not blocks. This enables dynamic displays, moving statues, or mechanized armor rotations in builds that demand precision.
For the cake minecraft recipe or stonecutter recipe in your survival world, armor stands help organize your crafting stations, display the finished products to remind yourself which workstation does what. It’s a quality-of-life improvement that scales with your base complexity.
Conclusion
The armor stand recipe is simple to master, but its applications run deep. From basic armor displays to command-driven decorative centerpieces, armor stands adapt to whatever you’re building. Whether you’re on Java or Bedrock, survival mode or creative, spending five minutes on furnace-time and crafting is worth the payoff. Once you understand the fundamentals, you’ll start spotting armor stands as solutions everywhere in your world, and that’s when your building game genuinely levels up.
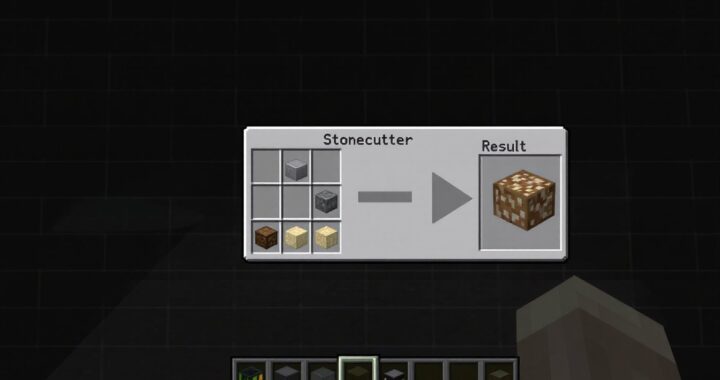 Stonecutter Recipe: Complete Crafting Guide for Minecraft 2026
  How to Make Cake in Minecraft: A Complete Crafting Guide for 2026
 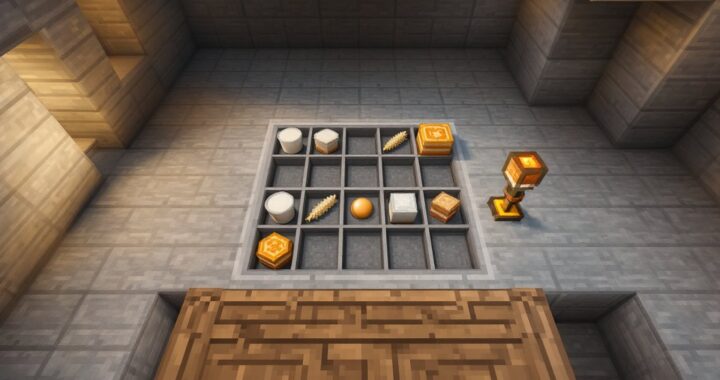 How to Craft a Cake in Minecraft: The Complete Recipe Guide for 2026
 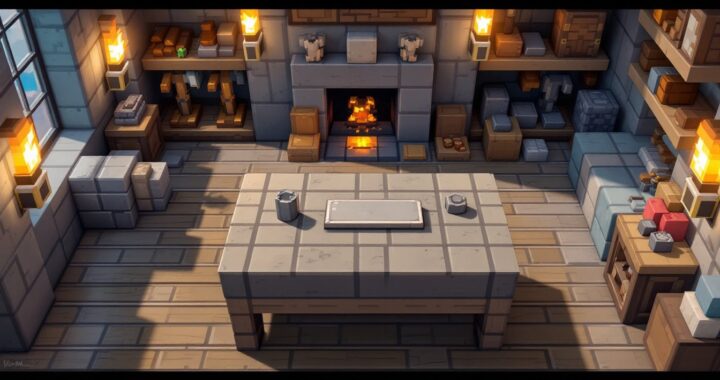 How to Craft an Armor Stand in Minecraft: A Complete Recipe & Usage Guide
  How To Make a Cake In Minecraft: Complete Crafting Guide for 2026
  Minecraft Recipe Book: The Ultimate Guide to Unlocking and Mastering Crafting in 2026